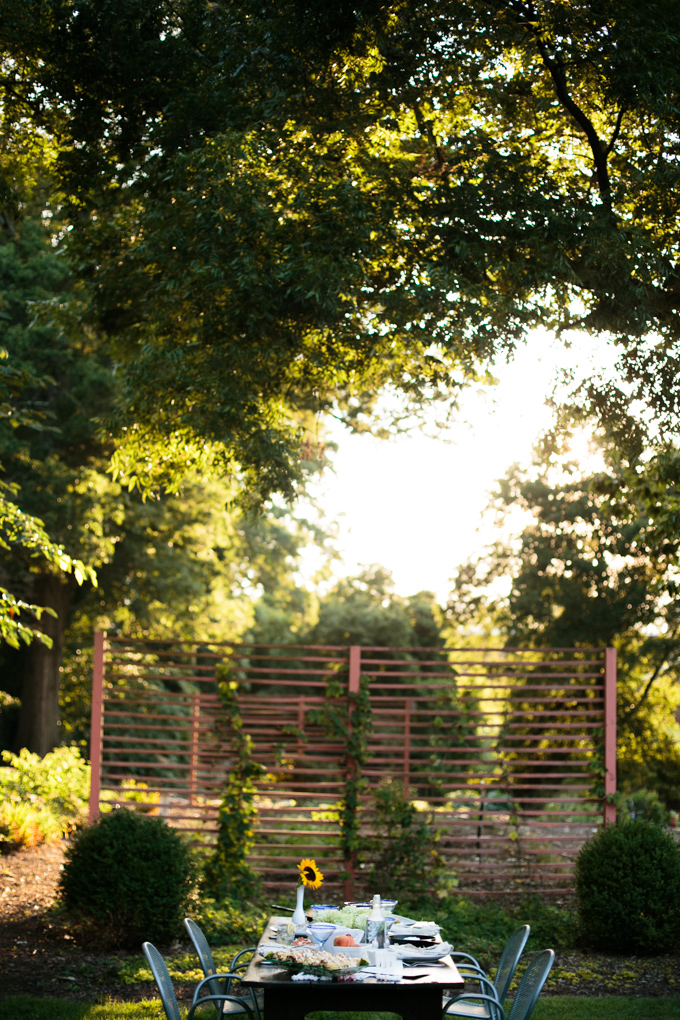
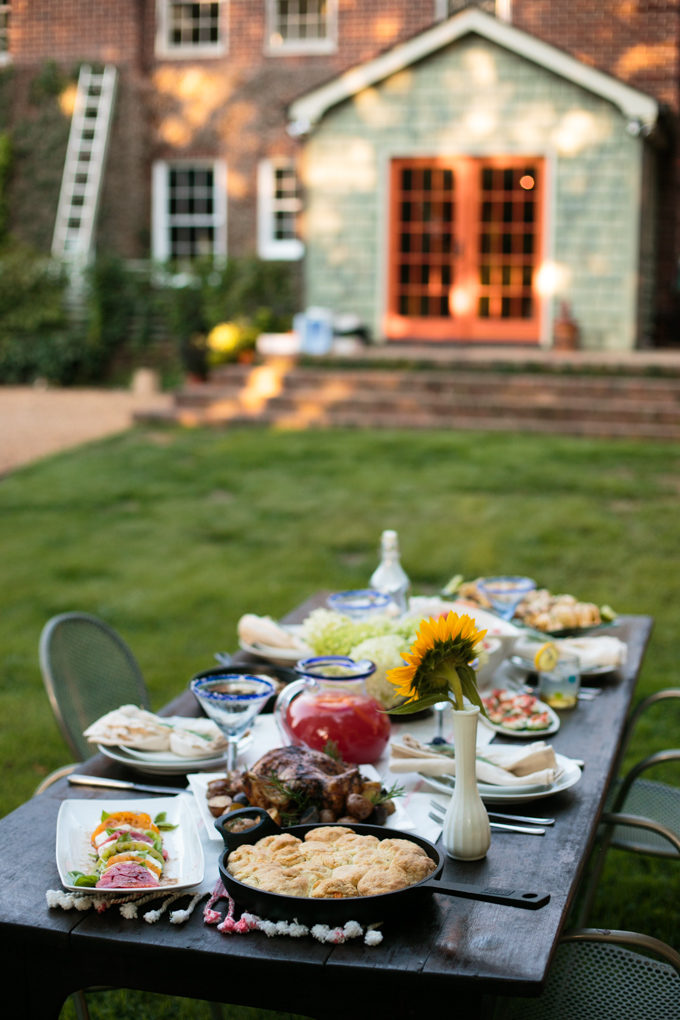
Last Friday I shared a bit about the summertime dinner party I got to put together with Susannah from Feast + West, Julia from Tag & Tibby, and Katie from Twin Stripe. We had the best time brainstorming a fabulous menu full of in-season fruits and veggies, local ingredients, and delicious recipes.
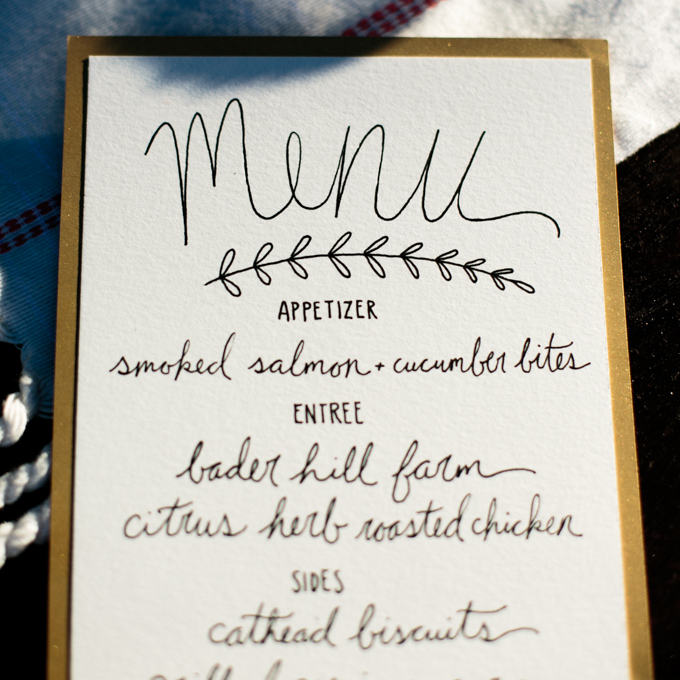
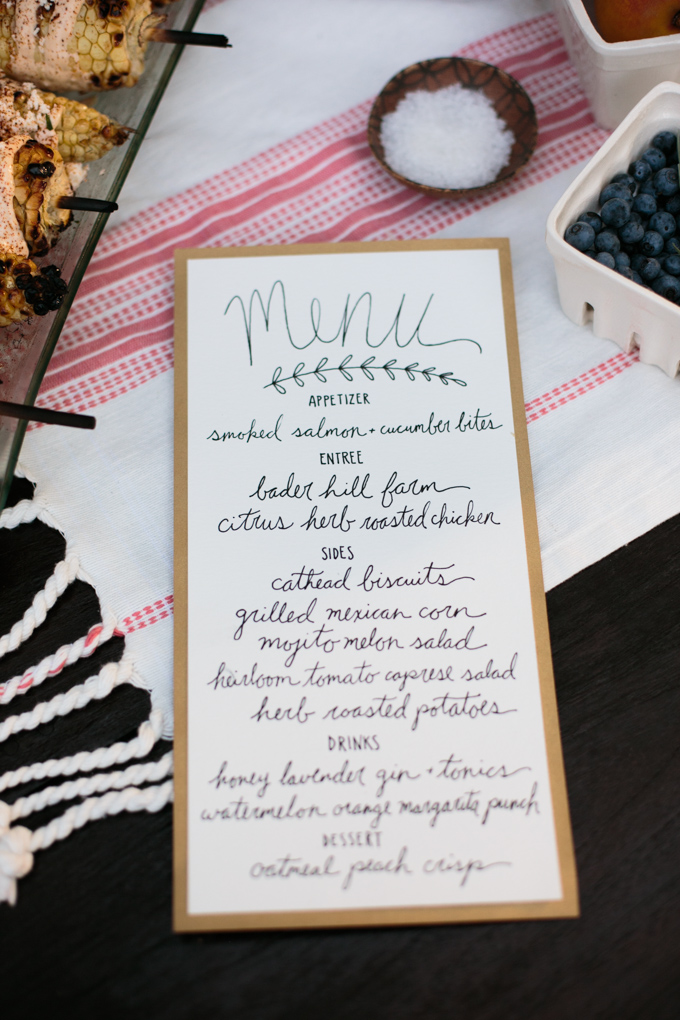
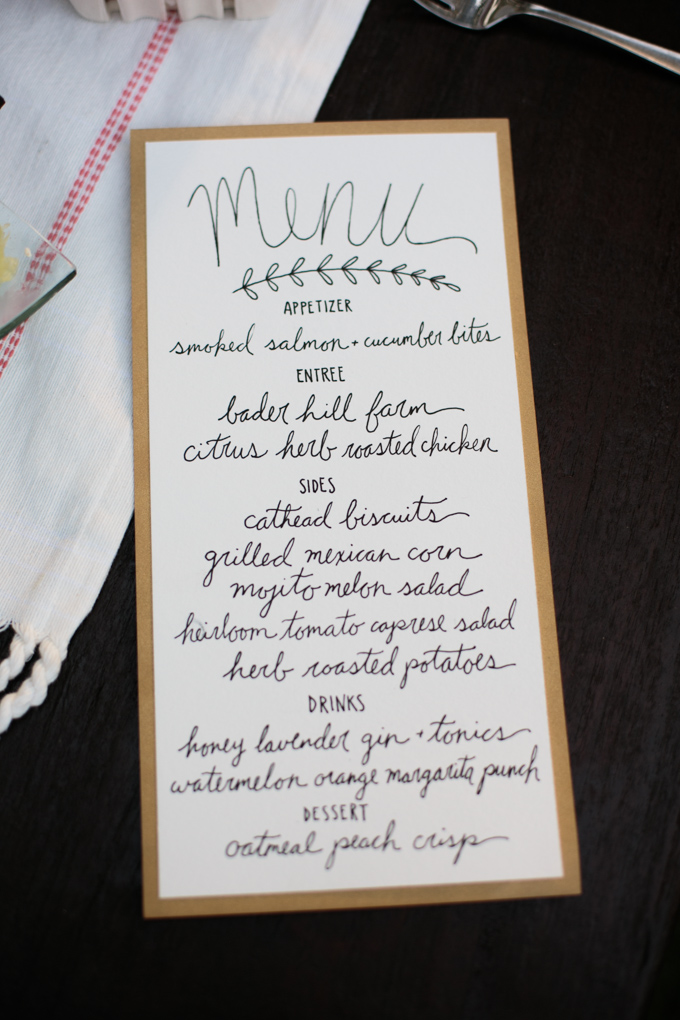
While Susannah was grilling her delicious corn on the grill, and Julia and Katie were hard at work on the table decor for our dinner, I sat down and created a handlettered menu to showcase each recipe that we’d created.
As some of you know, I’m currently co-authoring a DIY Handlettering book. (I still can’t believe it!) So I figured this sweet little handlettered menu was a great way to give you all a tiny sneak peek into everything I’ve been working on!
Follow along below for a list of supplies you’ll need and some simple instructions for creating your own handlettered menu for your next dinner party!
The tools you need:
Pencil with a good eraser
Pen or Marker
Paper you plan to write your menu on (I used watercolor paper that had some texture to it and I glued that to a larger sheet of gold paper to give it a pretty border.)
1. Using a pencil, gently sketch a general outline of how you’d like to layout your menu. Be sure to leave enough space for each item on your menu. If you find you’ve spaced your lines out too much, feel free to erase and start again.
2. Once you have a general outline, begin to sketch the lettering for each of your menu items. I chose a loose flowy cursive style for the title and recipe names, and combined that with a skinny upright all-caps style for the name of each course. I recommend very lightly sketching this in so it’s easier to erase later!
 3. When you’re confident you’ve got a good layout for your menu and lettering, go over your pencil lines with a pen or marker. Be sure to wait till your lettering is completely dry before erasing your pencil lines.
4. Once your lettering is finished and pencil lines erased, feel free to use a pretty sheet of scrapbooking paper as a border or background to your menu. I simply cut the paper 1/4 inch larger than my menu on each side and then attached them together using a glue stick.
I’ll be updating the links below as each new blog post from our summer supper collaboration goes up! Be sure to check back soon for more great recipes! You can also follow along on Instagram and other social media with the hashtag #sweetsummersupper
Appetizer
Smoked Salmon and Cucumber Bites // Twin Stripe
Entree
Bader Hill Farm Citrus Herb Roasted Chicken
Sides
Cathead Biscuits // Feast + West
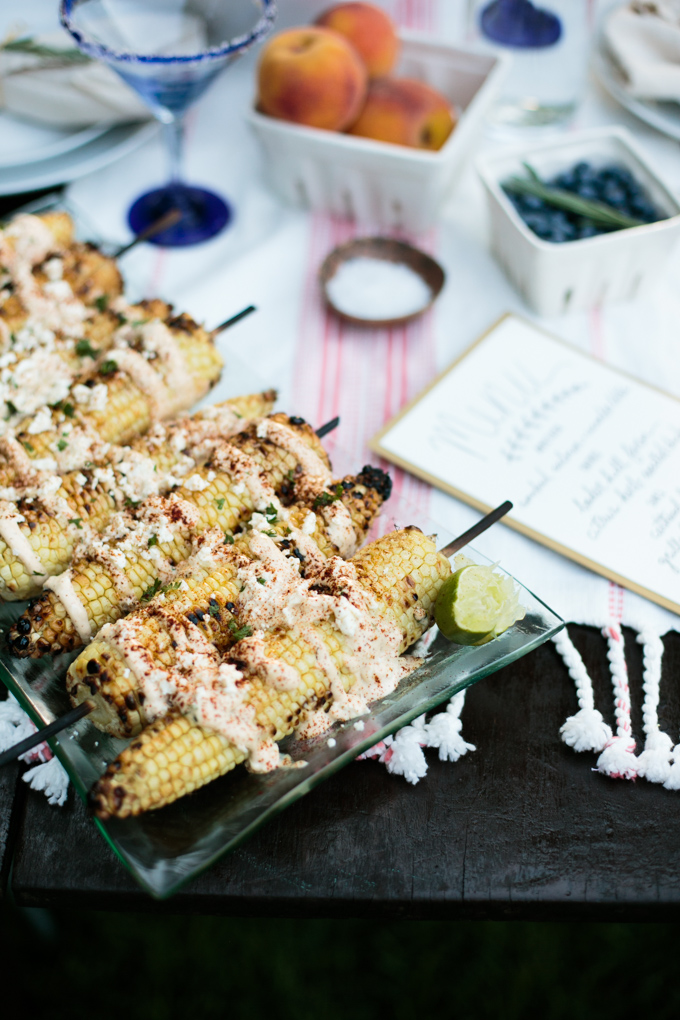
Grilled Mexican Corn // Feast + West
Mojito Melon Salad // This Wild Season
Heirloom Tomato Caprese Salad // Tag & Tibby
Drinks
Honey Lavender Gin + Tonics // Twin Stripe
Watermelon Orange Margarita Punch // Feast + West
Dessert
Oatmeal Peach Crisp // Tag & Tibby
